


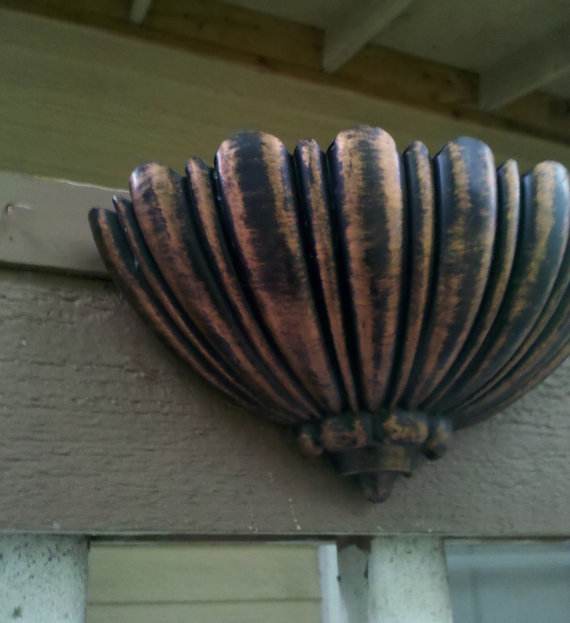
In my excitement to get started on my projects, I tend to forgot to take a before picture and a search online failed as well. This dates me some, but I remember my Mom collecting this stuff back in the 70's. It's called coppercraft and the finish was much like the wall sconce below. Ugggghhh!!! I must admit, I have NEVER been a fan of coppercraft. It's so much prettier now.
I take great pride in my makeovers, so I like to make sure the back side of my sale items is pretty too.

So here is how I transferred the french image on the bottom front. This method does not make a really strong image, it tends to provide a more weathered and worn looking image as seen in my photos. For those of you that have heard of the citri-solv transfer method this is basically the same thing. Citri-solv has not been approved for importing to Canada yet.
- Choose your image; size it based on what you need and then if there are any numbers or letters, you will need to reverse it horizontally so it's a mirror image.
- Print it out on an inkjet printer (this doesn't really work for laser ink, you can use paint thinner though) using a slightly heavier paper, like letterhead. Don't use printer or copier paper as it's not heavy enough and will tear or stretch during the transfer process.
- Put your image print side down on your project and tape the edges in place. Make sure the tape isn't on top of any parts of the image.
- Saturate a cotton pad or ball with nail polish remover and run it over the back side of the image just until it's damp, be careful not to saturate it.
- Use the back of the a spoon and burnish over the entire image for several minutes. The more you burnish the better the image. No peeking, or you could smudge the image.
- When you thinks it's ready, lift the tape and gently remove the paper. VOILA, your image has transferred. As mentioned earlier, the image will be soft and weathered looking, this method does not create a strong solid image. However, some of the ink may still smear or wipe away. So if you prefer the stronger image and want to avoid the risk of it smearing, best use a spray varathane rather than a brush coat. I prefer to wipe mine with a damp cloth to soften the image slightly.
- Clear coat with varathane or wax if preferred.

No comments:
Post a Comment